Posted in Uncategorized

Travel Bags


IMG_1377These meet the requirements for under seat luggage on Spirit Airlines.  We were planning a trip and I found tickets for under $100 round-trip each.  But to check bags would have cost almost as much as a person.   I made sure we didn’t need to check any bags.

I enlarged a pattern by Sew4Home by about 2 inches in height and 2 inches in width so the bags were the maximum size allowed by Spirit Air.  Also I added additional internal pockets using mesh and water bottle pockets on the side with mesh.  I also added an ID pouch at the top along with a ring to click your keys into so you can find them later.

These worked perfectly.  We went away for the weekend and fit everything we needed and had spare room.  Even for going up north in the winter these would work because we would be wearing our jackets.  We just love them.

Posted in Fashion, patterns

Chanel Jacket – quilting and construction


DSC01532
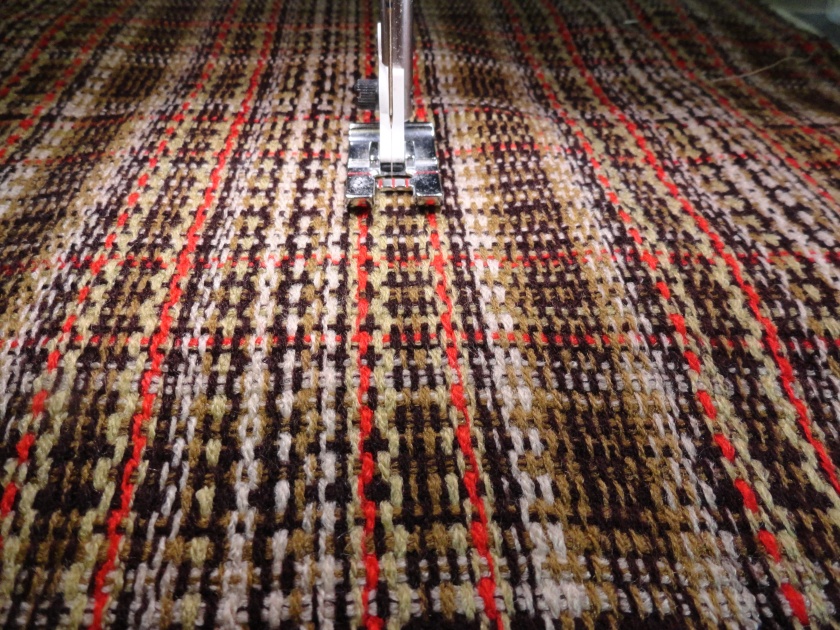
I began with the back of the jacket.  I quilted the lining to each back piece, then sewed the two back pieces together.  The back was straight forward.  I then hand-sewed the lining together at the center back.

Next to the sleeves.  It is a 3 piece sleeve construction which goes together differently than I expected.  I quilted the front arms and the back arms to the lining fabric.  A surprise to me was that the under arm piece is not quilted.   The pattern then has me sew the under arm piece to each of the upper arm pieces.  I expected to sew the center arm seam first, but I am doing my best to follow the pattern construction techniques.   After you have an oddly shaped arm, you sew the sleeve into a circle.   For control, I started at the matching dot at the sleeve cuff and sewed to the shoulder.   Not sure that was the exact way to do it, but I like having the control of starting at matching markings.  The length matched beautifully all the way to the shoulder.DSC01531

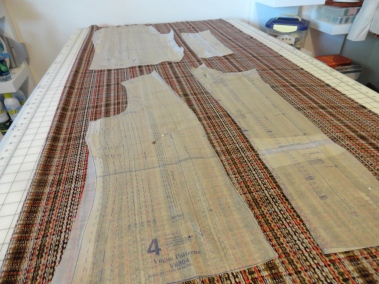
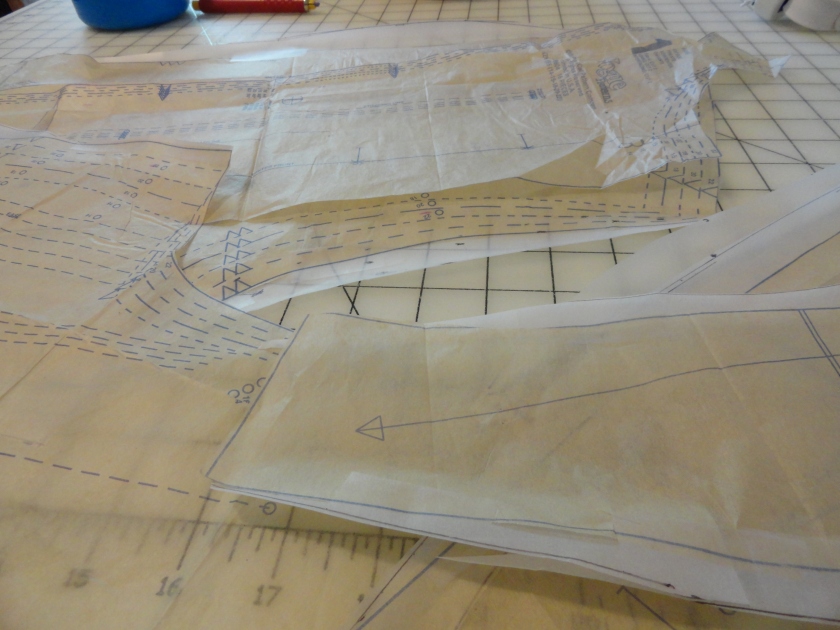
If you are reading the pattern instructions, you will notice I am doing things out of order.  I chose to attack the back first, then the sleeves.  I am avoiding the front, a bit.  I wanted to have the practice on these areas before I did the center front.  The front has a hidden dart.  The dart is sewn into a separate interfacing piece, then the fashion fabric is eased and shrunk with steam to match.  The fashion fabric for this make is polyester and I am not sure it is going to form as well as a higher quality boucle.  So I have been making progress in other sections while I procrastinate.DSC01534

Overall the pattern instructions have you put together each piece, then do the final construction.  Instead of the suggested construction order of Front, Back and then Sleeves.  I chose Back, Sleeves and then front.  I still end up at the same place at phase 4.

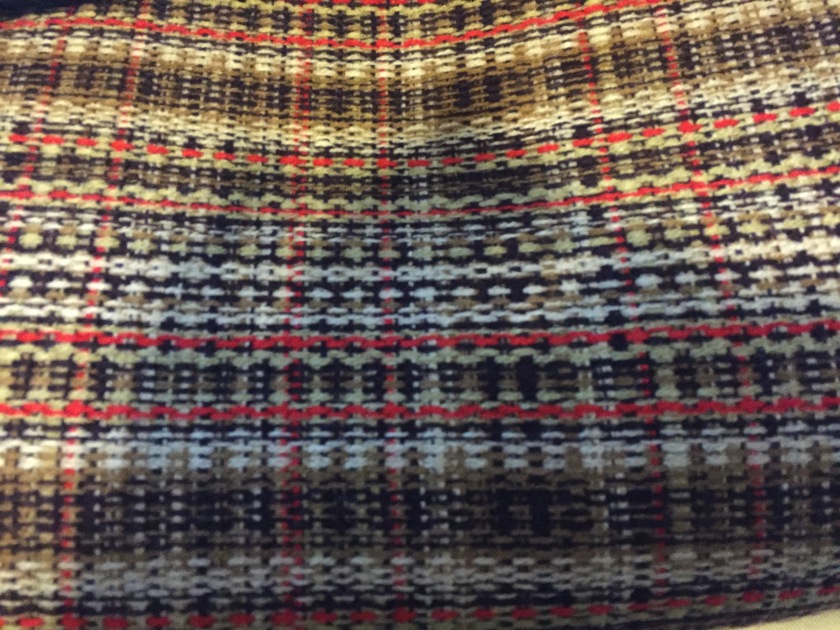
So far, I am very happy with the progress and the pieces.  I like the feel of the quilted boucle.  And I did choose a wild lining from my inventory, which has been in my inventory for about 15 years.  I still love the print, but it is no longer in fashion.  What better place to put it than a lining?DSC01536

Posted in Uncategorized

Chanel Style Jacket – Cutting and marking


The next step in the Chanel is to cut and mark the fashion fabric.  As I said this is the first garment, so I am purposely using a boucle that I purchased on sale from Fabric Mart Fabrics.  I also have a fabulous pink & white boucle that I purchased a month ago for the 2nd garment using more couture techniques.

For this first make,  I am doing this to test our the pattern adjustments on a fashion fabric of similar weight and body of the final garment.  If it doesn’t fit well or I mess up the plaid matching, I won’t feel like I wasted an expensive fabric.  If it works out well, then I have 2 jackets to wear.   When I am comfortable with this one, then I will trace 2 copies of each pattern piece so y future garments will be cut out on a single layer of fabric giving me better control of the fabric use and matching of the plaid.  DSC01522

So you see here that I have laid out the pattern on folded fabric that I made sure the plaid matches on both layers.  DSC01523

I initially cut it out in rough sizing.  Then I marked all the important match points using tailor tacks and contrasting thread.  Once it was all marked, I cut own the seam allowances to a fixed width.    When I make the full couture jacket, I will trace all the seam lines and leave the seam allowances larger following Susan Khalje’s methods of making a french jacket.

I marked the dots and notches using tailor tacks.  I thread traced the quilting lines and significant matching points (no picture).   Now I am ready to start construction.

Posted in Uncategorized

Chanel style Jacket – prep


A while back I decided I wanted to make a Chanel style jacket.  A week ago, I started it.  My husband was recovering from a minor knee surgery, so I needed to take off work to be around him, but he didn’t need constant hovering.  That gave me plenty of time during the day to get started.

I used Vogue V8991 by Claire Schaeffer that I had purchased about a year ago.  The sizing includes up to a 22, however that was still a bit small for me.  I made a muslin (no picture because it was boring) and started with some adjustments that I assumed I would need based on my measurements and the measurements of the pattern.  I added a couple of inches to the circumference, mainly at the sides.  The shoulders and princess seams looked like they would be in a good placement based on the measurements.

The muslin fit around me well, but I couldn’t move my arms.  I determined that the back of the pattern was not wide enough to fit my back well.  I added 1″ at the center back from just below the armholes to just shy of the neckline seam because the upper shoulders felt good.  I also added 1/2″ to the back armscye following a method by Kenneth D. King’s book Smart Fitting Solutions.   That adjustment solved much of the arm movement problem, but not all of it.   My biceps measure 21″ and the sleeve of the pattern only provided about 1″ of ease for me.  The pattern has a 3 piece sleeve, so I added 1.5″ of width to the upper sleeve, decreasing it to nothing at the wrist.  Those two adjustments provided the movement I needed.  Here are my adjusted pattern pieces.DSC01520

I adjusted my pattern and now I am ready to move on to my first item out of a boucle fabric.

Last fall, I purchased this boucle from Fabric Mart Fabrics for $3 a yard.  The fabric has lovely fall colors.  They are not the colors I wear most of the time, but they provide a great option for me.   I specifically purchased this at a low cost to make the first jacket to be able to test the pattern adjustments for comfort in real life wear.  I have learned over the years that you don’t always know the fit until you spend a day in the garment.IMG_0319